2026/09/07
Image to Low-Poly 3D: Create a Stylized Model from a Reference Image
Use image-to-low-poly 3D workflows for stylized game assets and concept models. Learn how to prepare references, define the style, and optimize the result for its destination.
Image to Low-Poly 3D: Create a Stylized Model from a Reference Image
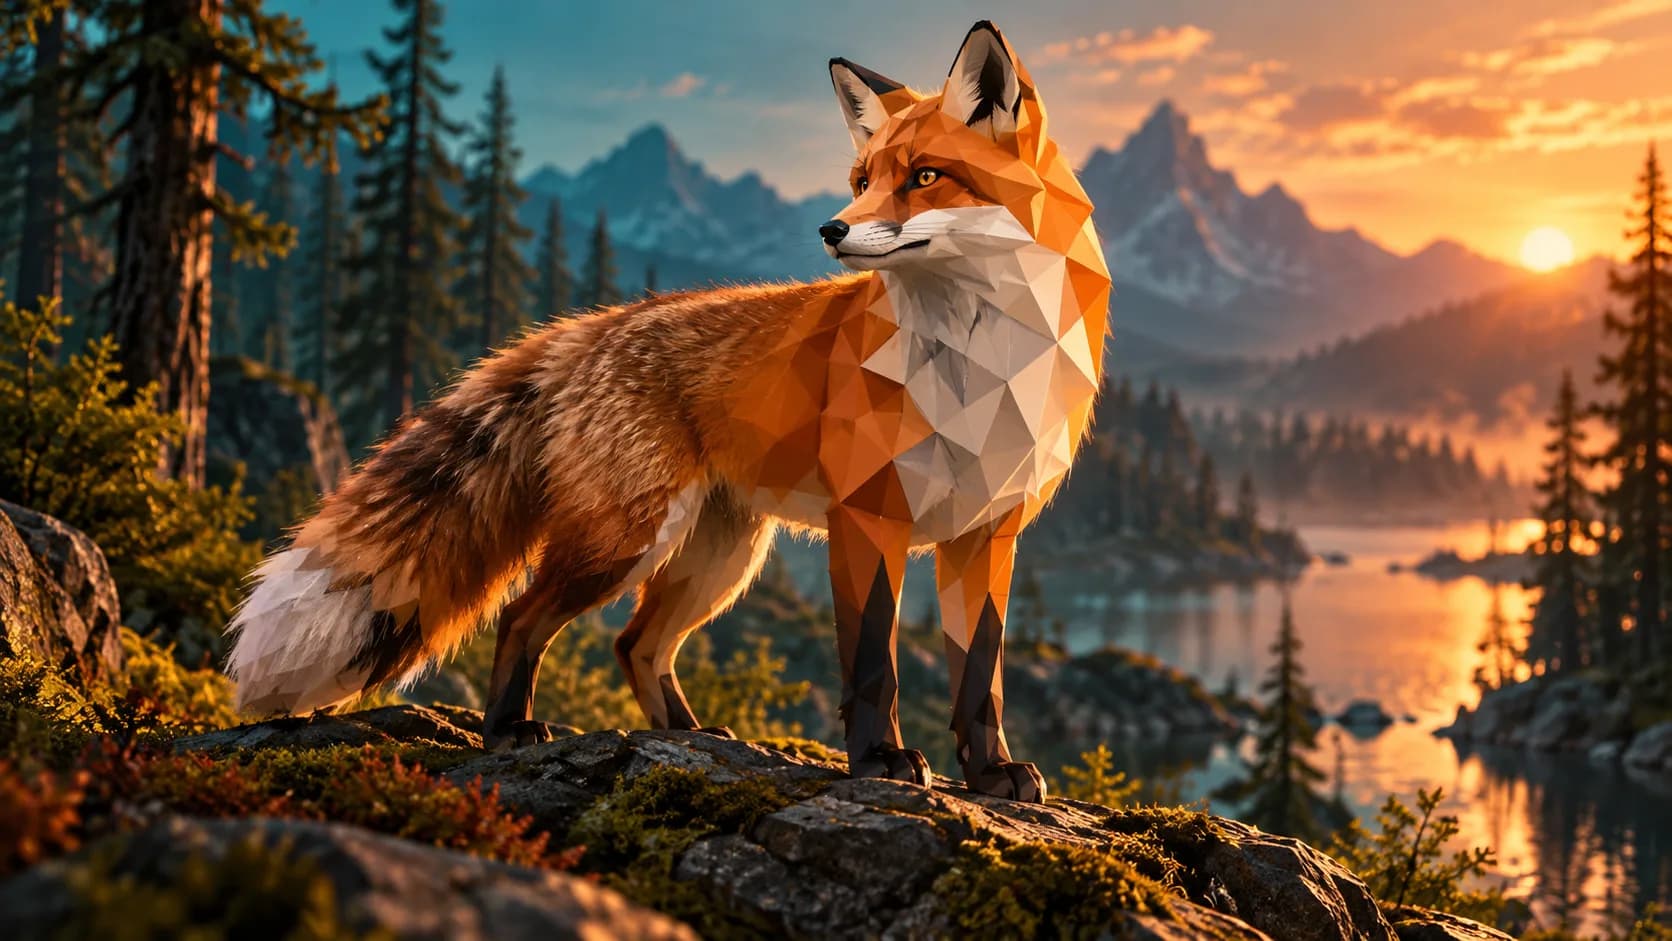
Image to low-poly 3D workflows turn a reference image into a simplified, stylized mesh. Low poly is not merely “fewer polygons”; it is a visual language built from deliberate planes, readable silhouettes, and economical details.
It is a useful direction for game prototypes, icons, stylized scenes, collectible concepts, and lightweight web assets. Begin with a clear image and state that the result should be low poly. Otherwise, a generator may aim for a more realistic mesh than your project needs.
Pick a reference with a clear silhouette
The best reference images isolate the subject from the background and show its main proportions. A simple toy, animal, prop, or character in a three-quarter view is easier to interpret than a crowded photo with multiple objects.
For an image-to-low-poly model, prepare:
- One primary subject
- Clear lighting and visible edges
- A plain or easily distinguishable background
- A pose with no important areas hidden behind other objects
- Permission to use the source image
Tell the generator what “low poly” means
Use a direct prompt such as: “stylized low-poly red fox, faceted planes, simple geometric fur shapes, clean silhouette, game-ready concept model.” Add the use case when it matters: mobile game prop, desktop scene, or printable figurine.
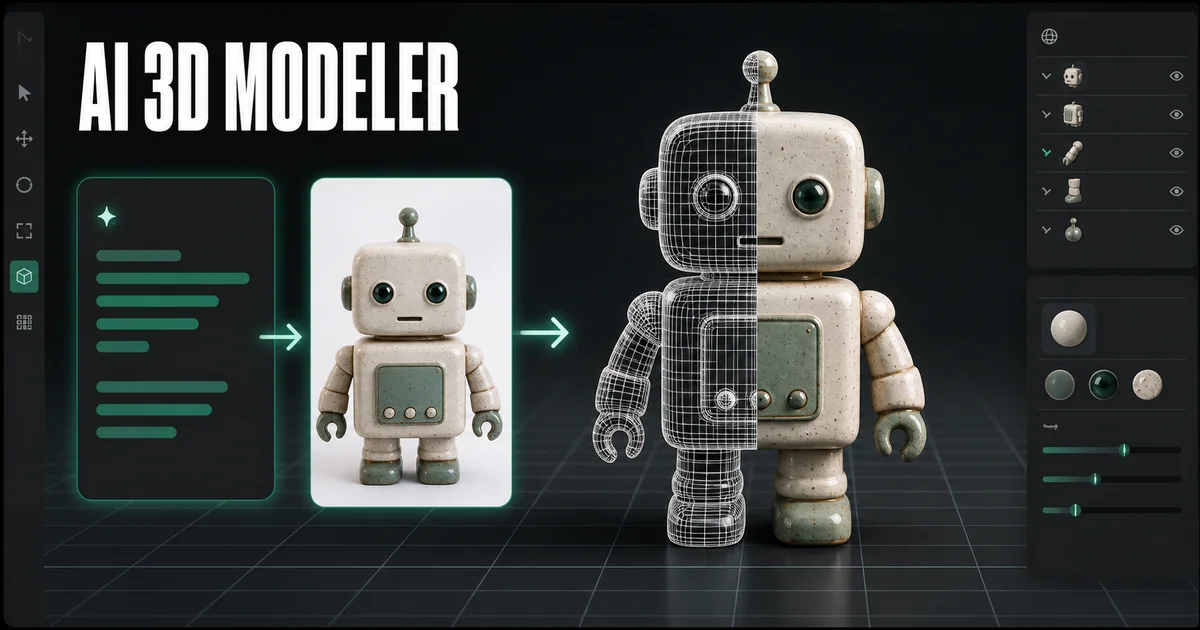
Generate the first model with Image to 3D, then inspect the result from several angles. The goal is not the lowest possible polygon number; it is a model whose silhouette and major planes communicate the subject clearly.
Optimize for the destination
For a game, use a controlled polygon budget, tidy UVs, and texture sizes that fit the target device. For web, prioritize fast GLB loading and test the model on mobile connections. For 3D printing, check manifold geometry and wall thickness; a faceted style does not remove print requirements.
| Destination | Main check |
|---|---|
| Mobile game | Polygon count and texture memory |
| Web viewer | File size and load time |
| Stylized render | Camera silhouette and materials |
| 3D print | Closed mesh, thickness, and supports |
Low-poly character versus low-detail output
A low-poly character is designed around visible planes and a coherent shape language. A low-detail output can simply look unfinished. To avoid the latter, specify a deliberate art direction, reduce unnecessary surface noise, and preserve the features that make the subject recognizable.
If the model will animate, plan for a cleanup pass. Character joints, hands, faces, and clothing often need artist-controlled topology even when AI provides a useful starting concept.
Can I make a low-poly 3D model from any picture?
You can generate a starting concept from many images, but results improve when the subject has a clear silhouette and minimal occlusion. Complex or hidden geometry still needs review.
Is low poly good for 3D printing?
It can be. The faceted aesthetic prints well when the mesh is closed and features are large enough. Check the model in a slicer before printing.
Which format should I export for a low-poly web model?
GLB is commonly useful for web delivery because it can package mesh and materials together. Test the final file size and rendering performance in the target viewer.
Start with a simple, clear reference, define the stylized direction, then refine the generated model for the platform where it will actually be used.
Image to Low-Poly 3D: Create a Stylized Model from a Reference ImagePick a reference with a clear silhouetteTell the generator what “low poly” meansOptimize for the destinationLow-poly character versus low-detail outputCan I make a low-poly 3D model from any picture?Is low poly good for 3D printing?Which format should I export for a low-poly web model?
โพสต์เพิ่มเติม
ToolsTutorials
เครื่องมือสร้างฟอนต์ 3 มิติ: เปลี่ยนการพิมพ์ให้เป็นตัวอักษรที่มีมิติ
ใช้เครื่องสร้างฟอนต์ 3 มิติเพื่อสำรวจการออกแบบตัวอักษรแบบมีมิติสำหรับโลโก้ ชื่อ ฉลากผลิตภัณฑ์ และฉาก เรียนรู้โครงสร้างที่รวดเร็ว การเลือกแบบอักษร และข้อควรพิจารณาในการส่งออก
ToolsTutorials
เครื่องมือสร้างโลโก้ 3 มิติ: สำรวจแนวคิดโลโก้แบบมีมิติโดยไม่สูญเสียการควบคุมแบรนด์
ใช้โปรแกรมสร้างโลโก้ 3 มิติสำหรับกราฟิกแคมเปญ ฉากผลิตภัณฑ์ และแนวคิดชื่อ เรียนรู้โครงสร้างที่รวดเร็ว สื่อที่อ่านได้ และเวลาที่จะกลับมาใช้โลโก้เวกเตอร์ดั้งเดิม
ToolsTutorials
สร้างประติมากรรม 3 มิติจากภาพถ่าย: กระบวนการทำงานจากรูปภาพเป็น 3 มิติที่ใช้งานได้จริง
เปลี่ยนภาพถ่ายให้เป็นแนวคิดประติมากรรม 3 มิติด้วยภาพอ้างอิงที่ดีขึ้น ความคาดหวังที่สมจริง และการตรวจสอบที่จำเป็นสำหรับตัวเลข รูปปั้นครึ่งตัว และของที่ระลึกที่สามารถพิมพ์ได้
จดหมายข่าว
เข้าร่วมกับชุมชน
สมัครรับจดหมายข่าวของเราเพื่อรับข่าวสารล่าสุดและการอัปเดต