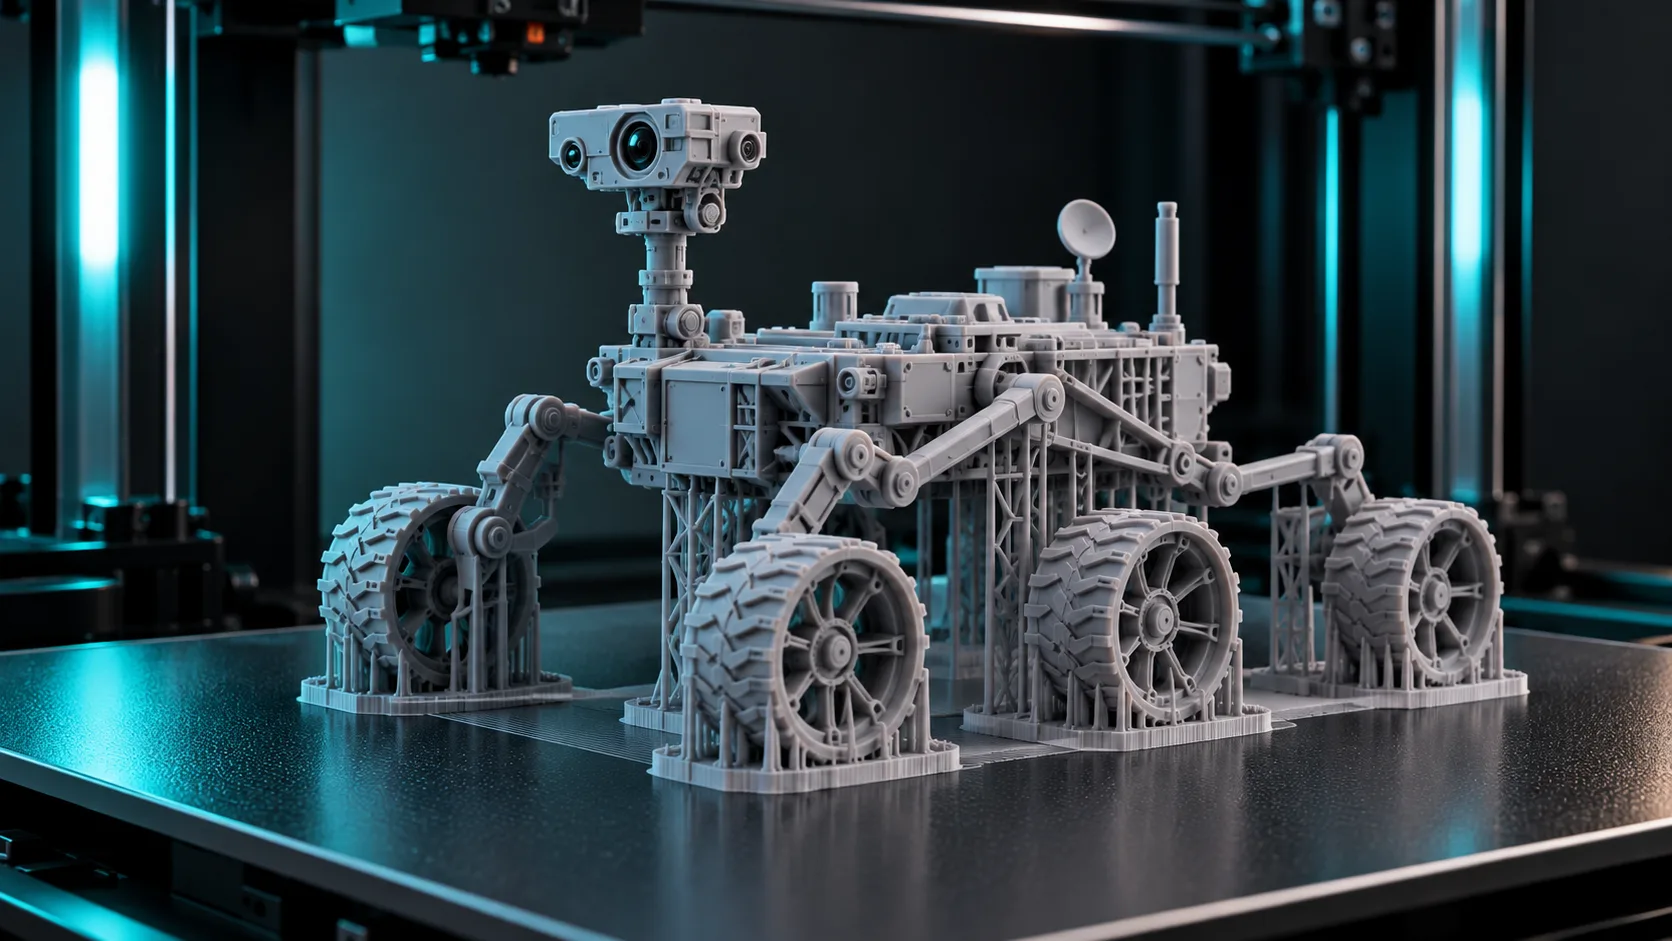
2026/08/19
AI 3D Model Generator for 3D Printing: From Idea to Printable STL
Use an AI 3D model generator for early 3D-printing concepts. Learn when to start from text or an image, how to export STL, and what to check in your slicer before printing.
An AI 3D model generator can shorten the path from an idea to a printable concept. Start from a text prompt when you are inventing an object, or start from an image when you already have a photo, sketch, or product reference.
The important distinction is this: generating a mesh is not the same as preparing a reliable print. The generator creates the starting model; your slicer is where you validate scale, walls, supports, and orientation.
Pick the right starting input
| Start from | Best when | Magic3D route |
|---|---|---|
| Text | You are exploring an original shape or custom gift idea | Text to 3D |
| Image | A photo or sketch already defines the object | Image to 3D |
| Existing model | You only need a new delivery format | 3D Converter |
For decorative models and quick prototypes, either text or image input can be a strong start. For functional parts that must fit another part, use CAD dimensions and treat an AI mesh as visual reference rather than a finished engineering component.
Generate with printability in mind
The best first generation is usually simple enough to inspect and print.
- Prefer clear silhouettes over fine, floating ornament.
- Ask for a stable base when the object needs to stand.
- Avoid very thin elements unless you plan to thicken them later.
- Generate one object at a time instead of a complex scene.
- Use a reference image with a clean outline when working from a photo.
For prompt examples and a structure that makes text results clearer, read the Text to 3D Model guide.
Export STL, then check it in a slicer
- Generate and preview the mesh in Magic3D.
- Export STL for a printing workflow, or convert a compatible model through the 3D converter.
- Open the model in your slicer.
- Set the physical scale and choose an orientation.
- Inspect the layer preview before sending the job to the printer.
An STL describes surface geometry. Your slicer converts that geometry into printer instructions, so printing decisions still belong there.
Four slicer checks that should not be skipped
| Check | Why it matters |
|---|---|
| Scale | A digital model has no guaranteed real-world size |
| Wall thickness | Thin areas may not print or may break easily |
| Overhangs and supports | The printer needs a viable path for each layer |
| Non-manifold geometry | Open surfaces and self-intersections can cause slicing errors |
Run a small test print when a project matters. It is the fastest way to catch scale and support decisions before using more material.
What AI-generated models are best for
AI-generated meshes are especially useful for:
- decorative objects and custom gifts
- figurine concepts and tabletop accessories
- early form studies for product ideas
- visual prototypes before a CAD rebuild
- custom enclosures or organizers that will be refined after a first fit test
They are not a substitute for validated CAD when tolerances, safety, moving parts, or load-bearing performance are requirements.
From photo to printable model
If the project starts from a product image or a hand-drawn concept, use the Picture to 3D workflow first. The How to create a 3D model from a picture guide covers how to choose a source image and inspect the generated result before export.
For a dedicated overview of AI-created STL files, see AI STL Generator: Create Printable STL Files with AI.
FAQ
Can an AI 3D model generator make printable STL files?
It can create a mesh that you export as STL for a slicer. Always review the exported model for wall thickness, scale, supports, and geometry errors before printing.
Is an AI-generated STL ready to print immediately?
Sometimes a simple model may need little preparation, but you should not assume that. Every model needs a slicer preview and the appropriate print settings for your printer and material.
Should I start with text or an image?
Use text for a new idea and an image when the visual reference is already important. You can also iterate between the two: generate a concept from text, then use a render or sketch as the basis for a later revision.
Start with a print test, not a production run
Create the first model in Magic3D, inspect it in your slicer, and print a small version before committing to a final size. That workflow keeps the speed advantage of AI while preserving the checks a physical object needs.
Pick the right starting inputGenerate with printability in mindExport STL, then check it in a slicerFour slicer checks that should not be skippedWhat AI-generated models are best forFrom photo to printable modelFAQCan an AI 3D model generator make printable STL files?Is an AI-generated STL ready to print immediately?Should I start with text or an image?Start with a print test, not a production run
Більше дописів
ToolsTutorials
Генератор 3D-шрифтів: перетворіть типографіку на розмірні написи
Використовуйте генератор тривимірних шрифтів, щоб досліджувати розмірну типографіку для логотипів, заголовків, етикеток продуктів і сцен. Дізнайтеся про структуру підказок, вибір шрифту та особливості експорту.
ToolsTutorials
Генератор тривимірних логотипів: досліджуйте концепції просторових логотипів, не втрачаючи контролю над брендом
Використовуйте генератор 3D-логотипів для графіки кампанії, сцен продуктів і концепцій назв. Дізнайтеся про оперативну структуру, читабельні матеріали та час повернення до оригінального векторного логотипу.
ToolsTutorials
Зробіть 3D-скульптуру з фотографії: практичний робочий процес із зображення в 3D
Перетворіть фотографію на концепцію 3D-скульптури з кращими еталонними зображеннями, реалістичними очікуваннями та важливими перевірками для фігур, бюстів і сувенірів для друку.
Інформаційний бюлетень
Приєднуйтеся до спільноти
Підпишіться на нашу розсилку, щоб отримувати останні новини та оновлення