2026/08/19
Image to 3D for Blender: Export and Cleanup Workflow
Convert a reference image into a 3D model with AI, then bring it into Blender for cleanup, materials, and final rendering. A practical image-to-3D workflow for creators.
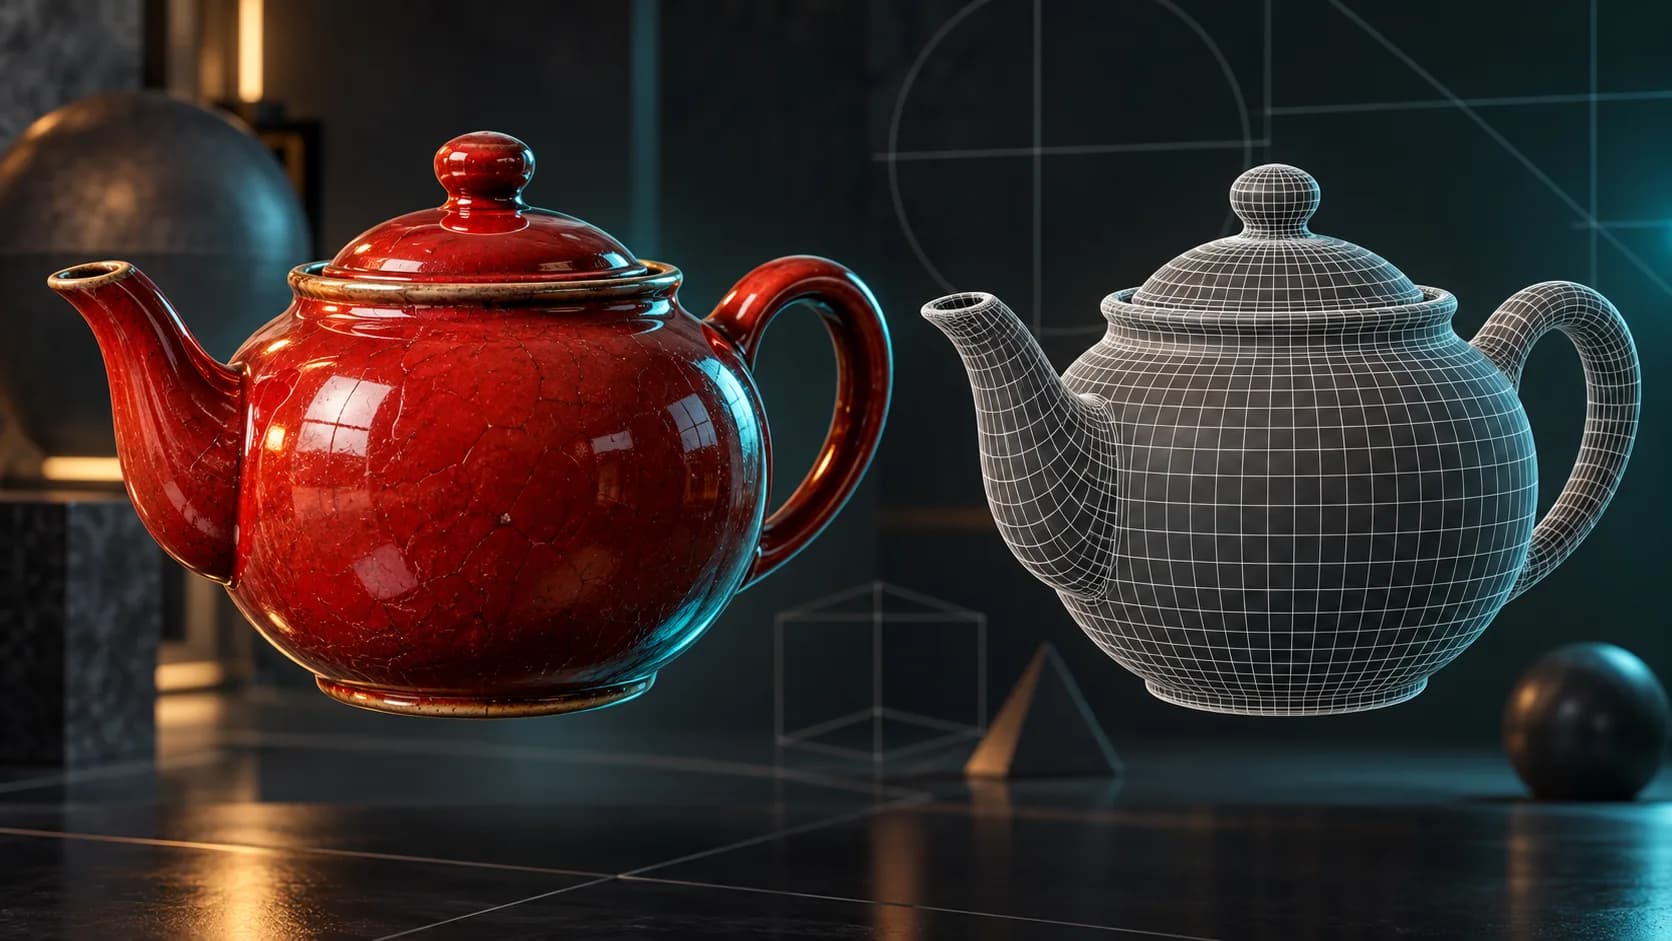
Image-to-3D is a useful shortcut when a photograph, concept sketch, or product image already communicates the object you need. Blender then gives you the control to refine that first draft for a render, game scene, animation, or print-prep workflow.
This is not a replacement for hand modeling every time. It is a faster way to get from reference to an editable starting mesh.
Start with an image that explains the object
AI has to infer the parts of an object it cannot see. A clean source image reduces that ambiguity.
| Use | Avoid |
|---|---|
| One clear main subject | Several overlapping subjects |
| Visible outer silhouette | Cropped or heavily occluded edges |
| Even lighting | Deep shadows that hide geometry |
| A simple or quiet background | Background elements that look like part of the object |
For asymmetric objects, use additional references when available. More views can clarify depth, openings, and side details; they do not remove the need to inspect the result.
Generate the first mesh
- Open Image to 3D Converter.
- Upload a reference image and choose the image-to-3D workflow.
- Generate the model, then rotate it in the preview.
- Check the front, profile, back, and any thin or recessed areas.
- Export GLB, OBJ, or FBX for Blender.
If the generated shape misses the key feature of the object, improve the reference instead of trying to solve everything after import. A clearer image normally produces a better starting point.
Which format should you bring into Blender?
| Format | Why choose it |
|---|---|
| GLB | Compact delivery with materials for many web-to-Blender workflows |
| OBJ | Straightforward mesh exchange when you want broad compatibility |
| FBX | Useful when the next destination also includes game-engine tooling |
Use the 3D converter when a project requires a different format. If your final destination is a print slicer, use STL after the mesh has been reviewed.
First five checks in Blender
After import, do these checks before rendering or exporting again:
- Apply and inspect scale. A model can look correct while having an impractical scene scale.
- Look for intersecting or floating geometry. Pay attention to handles, feet, seams, and layered details.
- Inspect normals and shading. Fix obvious artifacts before adding more material detail.
- Separate parts only when needed. Keep a simple object simple; split geometry when it helps animation, editing, or material assignment.
- Decide whether to retopologize. A close-up hero asset, rigged character, or deformation-heavy model may need a clean topology pass. A background prop may not.
The right amount of cleanup depends on the final use, not on an abstract idea of a perfect mesh.
When image-to-3D is the right choice
Use it when the reference carries the visual information you want to preserve:
- product photography for a concept render or interactive preview
- concept art that needs a first scene-blocking asset
- a sketch that defines a silhouette better than a text prompt
- a real object that you want to recreate as a creative approximation
For a completely new object, begin with Text to 3D. For a complete comparison of both inputs, see the AI 3D Modeler guide.
From Blender to the final destination
After cleanup, choose an output based on the project:
- export GLB for web and many AR workflows
- export FBX for game-engine pipelines
- export STL for a slicer after checking printability
- render inside Blender when the goal is a still image or animation
For printable concepts, follow the AI 3D model generator for 3D printing guide. It explains the checks that belong in a slicer rather than in the generation step.
FAQ
Can Blender open AI-generated 3D models?
Yes. Export a compatible file such as GLB, OBJ, or FBX, then import it into Blender. Review scale, topology, normals, and materials before using it in a production scene.
Is image-to-3D accurate enough for manufacturing?
Treat it as a creative or prototyping starting point. Manufacturing work needs measurements, tolerances, and validation that a single reference image cannot provide.
Should I use one image or several images?
Start with one clean image for simple, symmetric objects. Add references when a side, back, or opening is important to the final shape.
Create the first draft, then make it yours
Start at Image to 3D Converter, use Blender for the level of refinement your project actually needs, and keep the original reference available while you review the mesh.
Start with an image that explains the objectGenerate the first meshWhich format should you bring into Blender?First five checks in BlenderWhen image-to-3D is the right choiceFrom Blender to the final destinationFAQCan Blender open AI-generated 3D models?Is image-to-3D accurate enough for manufacturing?Should I use one image or several images?Create the first draft, then make it yours
अधिक पोस्ट
ToolsTutorials
3डी फॉन्ट जेनरेटर: टाइपोग्राफी को डायमेंशनल लेटरिंग में बदलें
लोगो, शीर्षक, उत्पाद लेबल और दृश्यों के लिए आयामी टाइपोग्राफी का पता लगाने के लिए 3डी फ़ॉन्ट जनरेटर का उपयोग करें। शीघ्र संरचना, फ़ॉन्ट चयन और निर्यात संबंधी विचार जानें।
ToolsTutorials
3डी लोगो जेनरेटर: ब्रांड नियंत्रण खोए बिना आयामी लोगो अवधारणाओं का अन्वेषण करें
अभियान ग्राफ़िक्स, उत्पाद दृश्यों और शीर्षक अवधारणाओं के लिए 3डी लोगो जनरेटर का उपयोग करें। त्वरित संरचना, पठनीय सामग्री और मूल वेक्टर लोगो पर कब लौटना है, जानें।
ToolsTutorials
एक फोटो से 3डी मूर्तिकला बनाएं: एक व्यावहारिक छवि-से-3डी वर्कफ़्लो
बेहतर संदर्भ छवियों, यथार्थवादी अपेक्षाओं और आकृतियों, बस्ट और प्रिंट करने योग्य उपहारों के लिए आवश्यक जांच के साथ एक तस्वीर को 3डी मूर्तिकला अवधारणा में बदलें।
न्यूज़लैटर
समुदाय में शामिल हों
नवीनतम समाचार और अपडेट के लिए हमारे न्यूज़लेटर की सदस्यता लें